In this tutorial we'll explain how to use the Authentication option in your application.
Imagine if you want to restrict users and make the application more private. You want the users to register first in the app and then benefit from its content. Many of you wished to collect user emails in order to contact them in private. Well, we have the option you need, it's Authentication. With this option you can restrict access to your application. User will have to register in order to access your application. In sum of all you will have the option of Individual Push Notification. Yes, you got it, Individual Push Notification. For more details on how to use the Individual Push Notifications please follow this tutorial.
So let us start with more details on how to enable this option.
1. Enabling Authentication Option
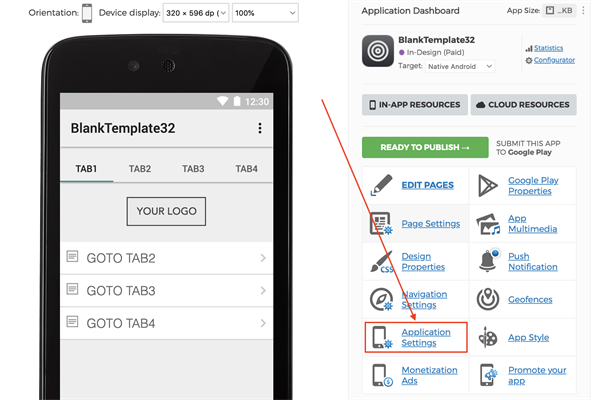
The Authentication option can be enabled in Application Settings.
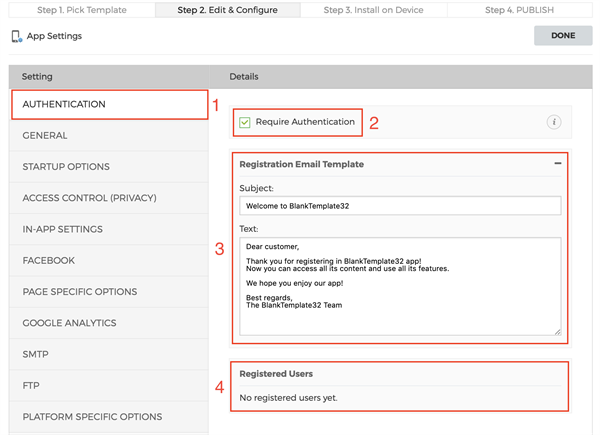
Next you will need to open the Authentication section and enable the option. It can also be enabled via sync. No need to update your application.
In Authentication section (1) you will have several other options beside enable fuction (2).
Here you will be able to customize your Email Template (3) user receives after registration. You can set the subject and text.
Next it will be the Registered Users (4) section where you will be able to see all the registered user emails.
2. In Application
In application user'll be able to register and then access the application.
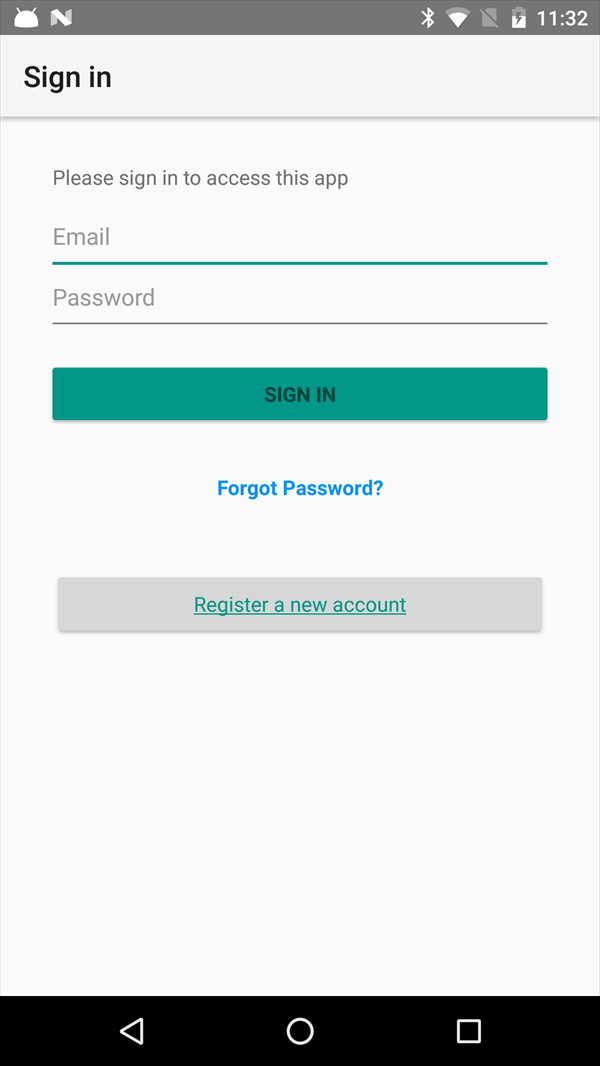
Here is how Authentication page looks in application:
As you can see, in this page you can login using your email and password or register if you do not have an account.
Next there is a Forgot Password option in case you have lost your password.
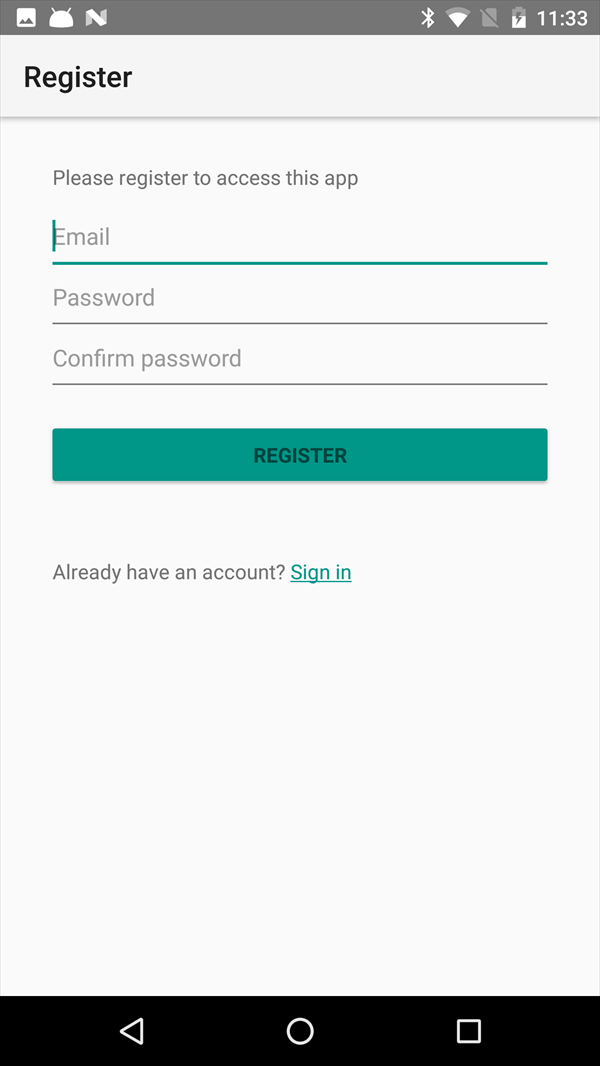
Now we'll proceed with the registration page:
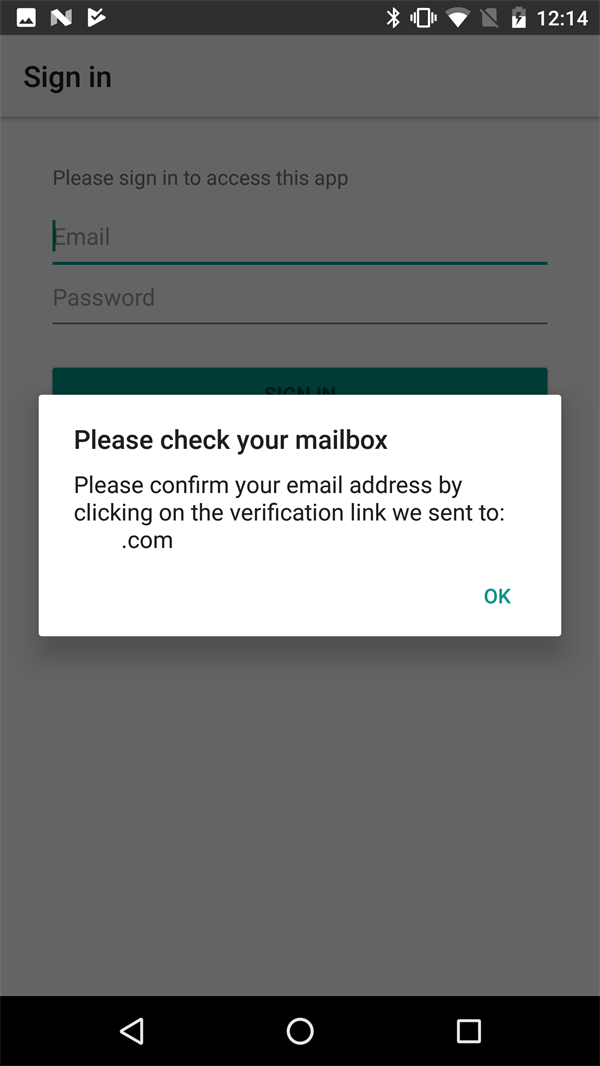
In this page user'll have to provide a valid email, password and confirm his password. The password must be at least 8 characters long of which are required at least one lower case, one upper case letter, one number and one special character. Once done, the details are sent and user will have to confirm his email.
After confirmation user'll be able to login using his email.
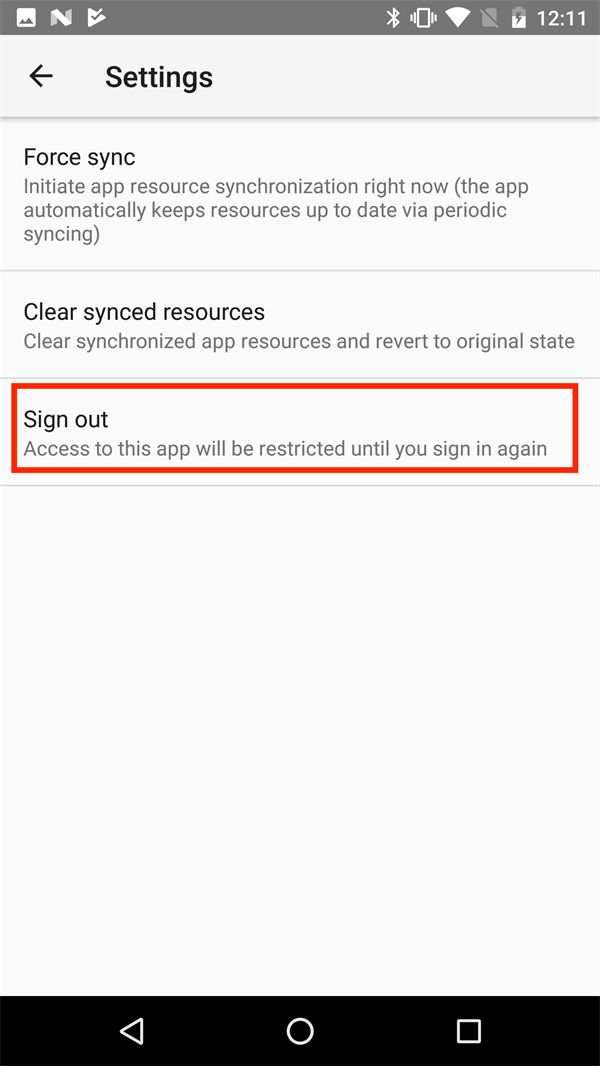
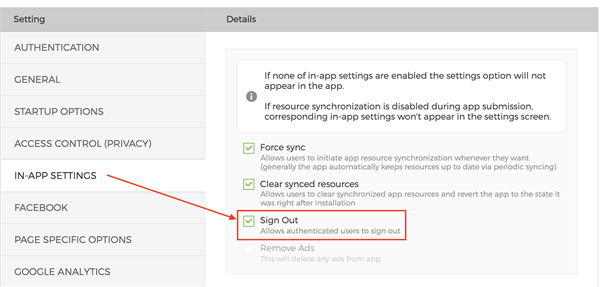
In order to log out user can use the Sign Out option provided in settings of the app.
This option can be enabled in Application Settings - In-App Settings section.
User'll have to login only once, after each app load user won't have to login each time unless the session is expired or user signs out.
As we mentioned before Authentication provides an additional feature you can use, it's Individual Push Notification. For more details please follow the Individual Push Notifications Tutorial