In this tutorial we'll explain how to setup and use the Geofence service.
Geofence is a service that triggers an action when a device enters a specific location. On Seattlecloud Geofence triggers Notifications. When a user enters a certain area he'll receive a Notification. For example if you own a Restaurant and the user enters the specified area you can notify him about new offers, discounts you have and provide the exact address, so the device owner can find the Restaurant easily.
For this service the location detection has to be on. This will force the user to send location details and the Notifications will be sent.
Let's start.
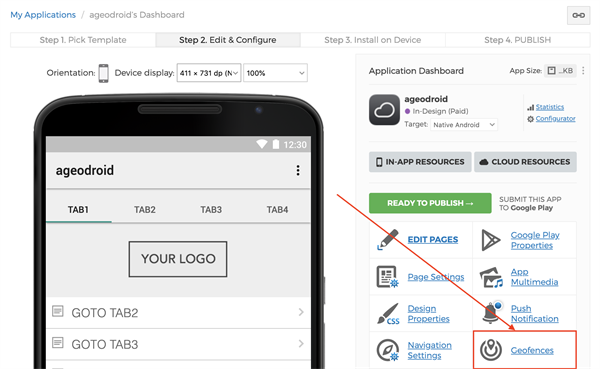
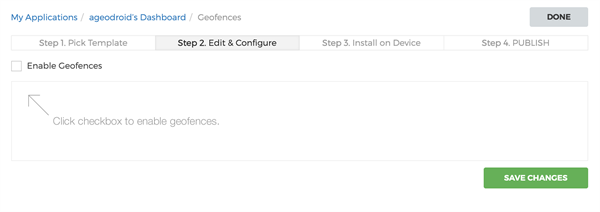
First of all we need to enable this option in the Geofences section.
Click on the checkbox to enable Geofences.
Now the full edit page will load.
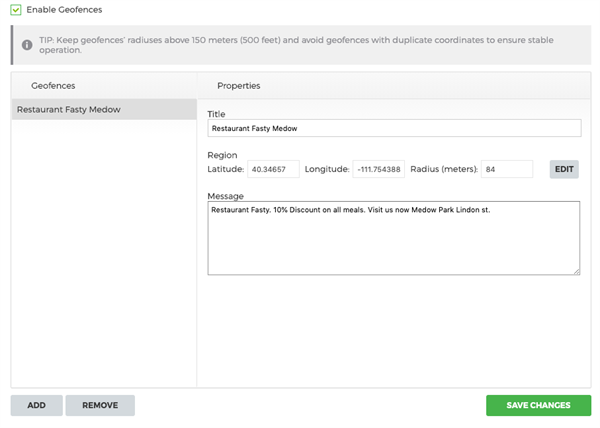
Here you will be able to see the list of Geofences and their properties. Below the list there is the Add button, with which you can add new Geofences. Remove button does delete the selected Geofence.
Once you add a geofence will load with default properties. Now you can edit it according to your needs.
For example we have made a discount notification geofence:
As you can see here you can specify the title of the message, the actual message and the location.
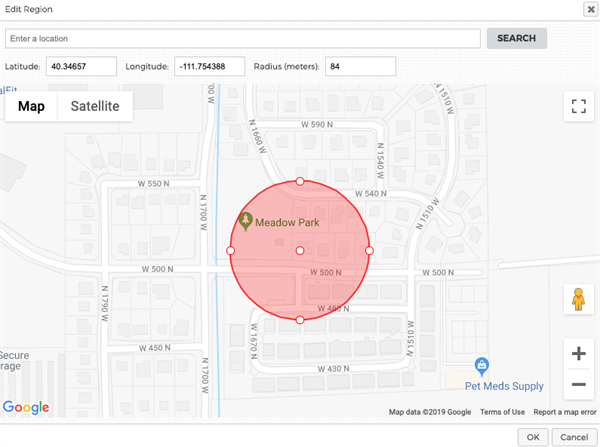
For the location you'll have to specify the coordinates by clicking on Edit and the map page will be opened.
In the opened map select the location, search by address or add the coordinates manually. Here you'll also have to specify the Radius in meters. In order to have the best experience consider to keep geofences radius above 150 meters (500 feet) and avoid geofences with duplicate coordinates to ensure stable operation.
Now all you have to do is to submit your application.
In the live app, if user is in the selected radius he will receive a notification with the title and message you have specified.